You are viewing the RapidMiner Cloud documentation for version 8.1 - Check here for latest version
Running a Process in the Cloud
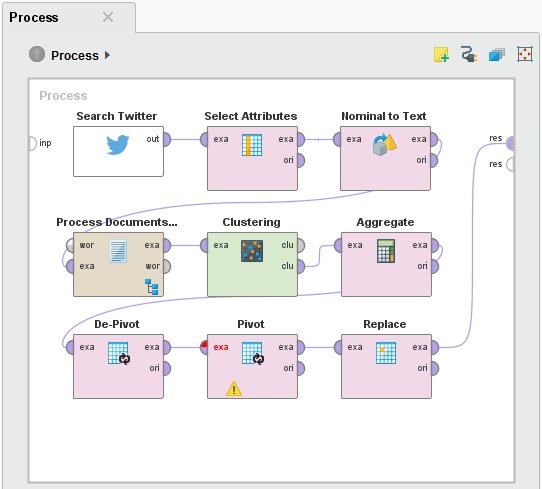
As is always the case, you create your RapidMiner processes in RapidMiner Studio.
Creating your process
Once you have created your process in RapidMiner Studio, save it to your Cloud repository. If you access data sources from within your process, make sure they are available via the Internet (as opposed to being restricted to your corporate Intranet, for example). Alternatively, you can store the data sets in the Cloud repository as well.
Most RapidMiner Studio operators work within cloud processes. Some operators are disabled for security reasons (for example, Execute Program and Execute Script), and third-party extensions are not allowed. If your process contains a forbidden operator, you receive a warning and process submission does not complete.
When building your process, make sure you have either connected to the result ports or used the Store operator to store your results in the Cloud repository.
Storing your process in the RapidMiner Cloud repository
Only processes saved in the Cloud repository can run in the cloud. To save a process in the Cloud repository:
Load (or create) a complete process in the Design perspective.
In the Repositories view, right-click on the
 Cloud repository (or a subfolder within).
Select
 Store Process Here.
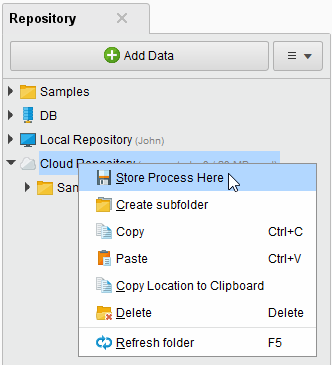
In the resulting dialog, enter a process name and click
 OK.
OK.
Checking your credit balance
Predicting the number of credits needed to run a process is an impossible task. To prevent unexpected usage, when you push your process to the cloud for execution, you can set a limit to govern the maximum amount of time (and therefore, maximum number of credits) to use. If your balance drops to 40 credits while the process is running, you receive an email notification. You can immediately purchase additional credits to continue process execution (up to your self-imposed limit, if applicable). Otherwise, when the process runs out of credits, it terminates unsuccessfully. You then receive a summary (if your preferences are configured for notifications) detailing the amount of credits and execution time consumed.
It is a good idea to check your credit balance before launching a process. Your balance is displayed as part of the ![]() Run Process on cloud menu.
Run Process on cloud menu.
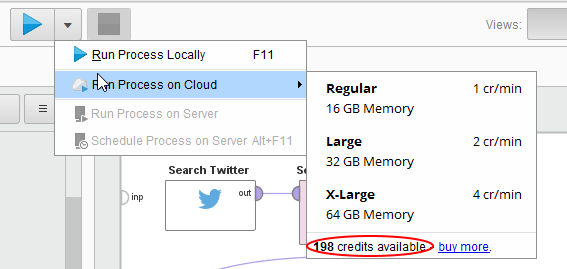
If necessary, you can purchase additional credits if you think you might need more to run the process. Note that you must have a paid subscription or a RapidMiner Studio Small, Medium or Large edition to purchase additional credits.
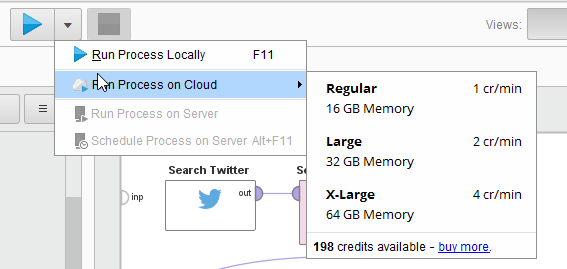
Running the process
Once you have saved it, you are ready to run your RapidMiner process in the RapidMiner Cloud.
Click on the the drop down next to
 and go to the
  cloud execution menu.
Select the RapidMiner Cloud hardware that you want to run your process on. The different sizes dictate the size of the server the process runs on and the rate of credit use. Note that the RapidMiner Studio Free edition does not include a selection of hardware sizes.
Optionally, to limit the time a process can run and, therefore, the number of credits it consumes, click Limit execution time for this process in the resulting dialog. Set the maximum process execution time, in hours.
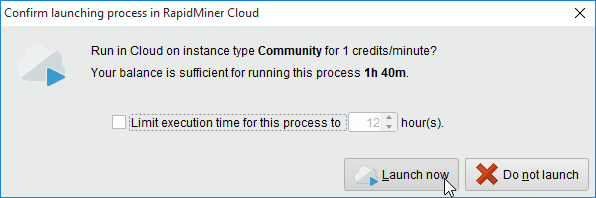
Click
 Launch to confirm and submit your process to RapidMiner Cloud.
Once your process is successfully submitted, pending execution, RapidMiner Studio displays a notification in the lower right corner.

Open the ![]() Cloud Monitor panel to watch your process's execution progress.
Cloud Monitor panel to watch your process's execution progress.